J and E Engineering Services Ltd.
Unit 32 Britannia Mill,
Stoneholme Road,
Crawshawbooth,
Rossendale,
Lancashire.
BB4 8BA.
Monday
Tuesday
Wednesday
Thursday
Friday
Saturday
Sunday
8:30am -
8:30am -
8:30am -
8:30am -
8:30am -
9:00am -
Closed
















Richard telephoned in mid July to discuss the re-





Sometimes things seem to be going along quite nicely. All the pieces of the jigsaw slip nicely into place and everything is going to plan and then……
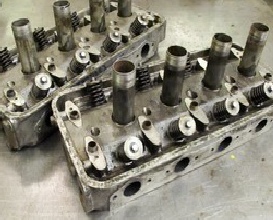
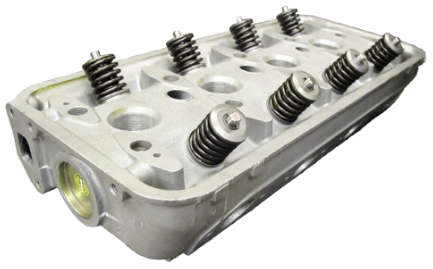
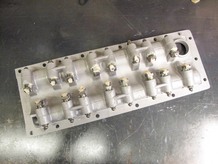
Here are the cylinder heads as removed from the car.
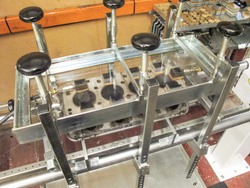
First job is to pressure test the cylinder heads. This reveals any cracks or flaws. Testing is carried out pneumatically, hydraulically then hot hydraulic. Fortunately Richard’s heads checked out just fine.
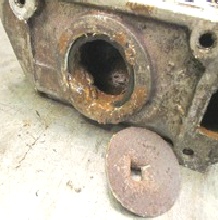
The cleaning procedure begins with a full strip down and inspection. This includes core plug & oil gallery plug removal.
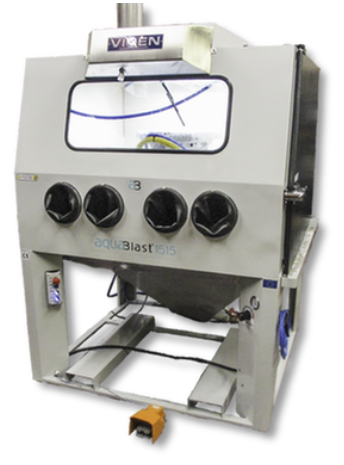
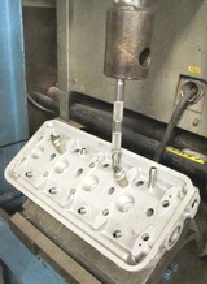
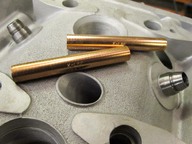

After vapour blasting our modified valve guides were fitted. Here you can see them being pressed in.
Once the guides were fitted we installed the K-
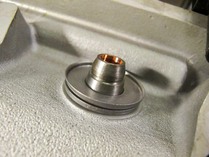
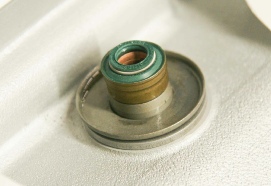
Here is the completed modified valve guide ready for the oil seal to be fitted.
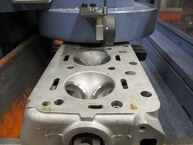
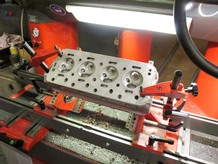
After the valve guide work the valve seats were cut to suit the new alignment. We used a 3-
Machining of the core plug bores in each end of the cylinder heads was carried out before the final fly-
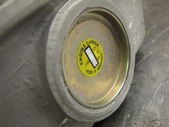
New cup type core plugs installed. (Note temperature tell tale sticker)
Modern type valve stem oil seal fitted before final assembly.



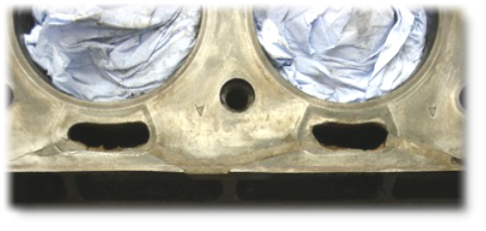



Richard was back home and looking forward to fitting his re-
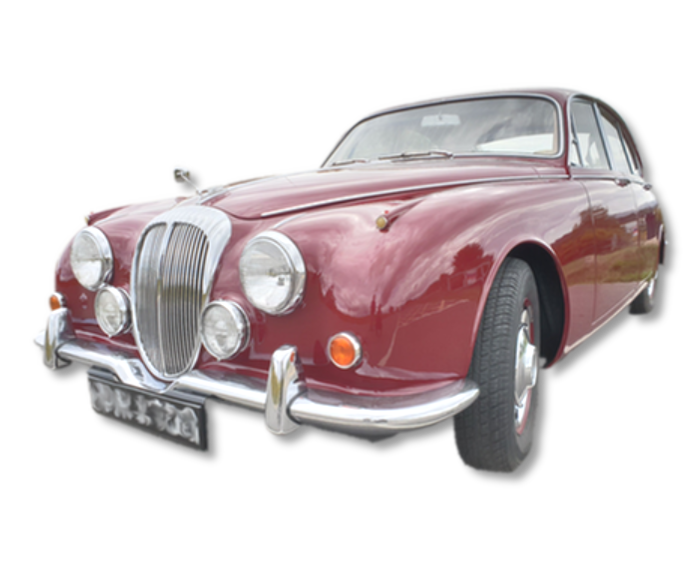
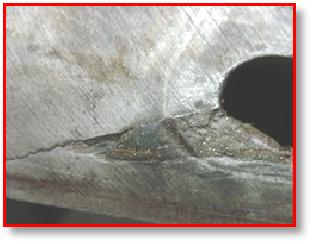
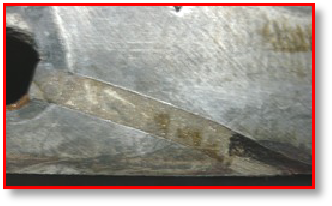
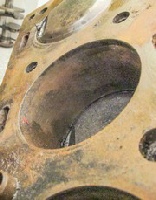
This was the worst possible situation and a real blow for Richard and his Daimler. The images on the right show a lengthy crack to the outside of the block and through two coolant passages. The crack had occurred sometime ago and had already been ground and filled with a “cold metal weld” product although it can be seen that the crack had not stopped its run. I received a rather desperate e-
We discussed all options and different type of repairs and it was agreed that a replacement block would be required. These blocks are not easy to find but they are not what you would call rare. A repair to this block would be costly and there would always be a certain nagging doubt over the rest of the blocks integrity.
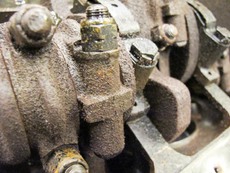
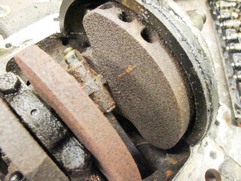
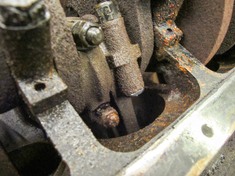
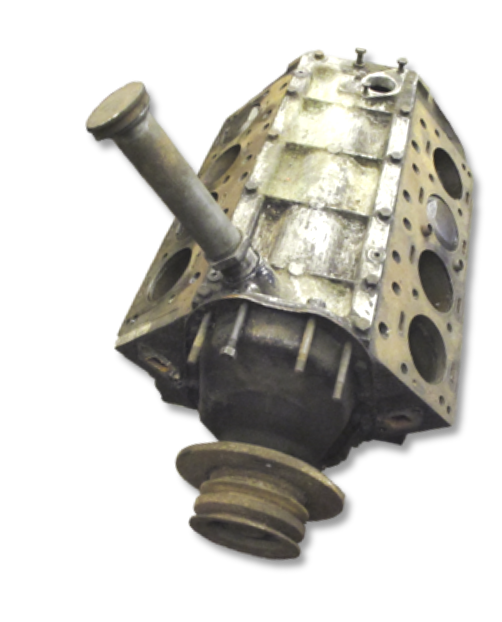
Richard being a “Daimler & Lanchester Owners Club” member managed to find a fellow member with a replacement short motor assembly. This was just what we needed to get back on track and some much welcome good news. A few days later a rather sorry looking replacement short engine arrived. It hadn’t seen the light of day for quite some time and it was seized solid. First inspection of the block faces looked promising.
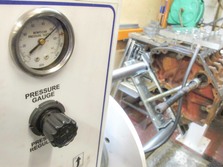
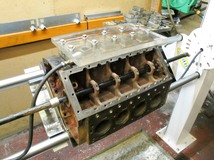
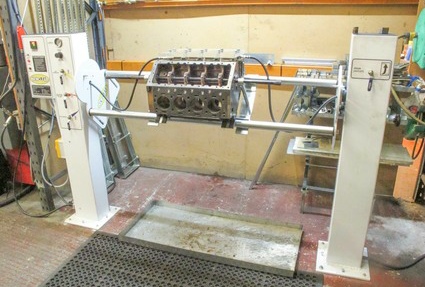
Our new upgraded pressure testing machine was put to good use testing the donor block for cracks and internal flaws. Both banks have to be treated as two different engines as their coolant cavity's are completely separate. The water pump housing links the two sides together when the engine is assembled. We tested both sides hydraulically @ 90°C 100psi. All was good and we were back in business.
Next was complete strip down including all core plugs, oil gallery blanking plugs, camshaft bearings, dowels & studs. Then into the vapour honing machine for deep cleaning which allows us to carry out some measurements and see what is required with regards to cylinder bore size, gasket faces, thread repairs, corrosion etc.
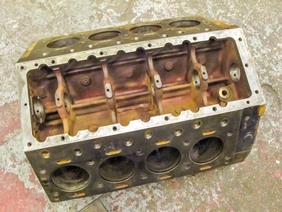
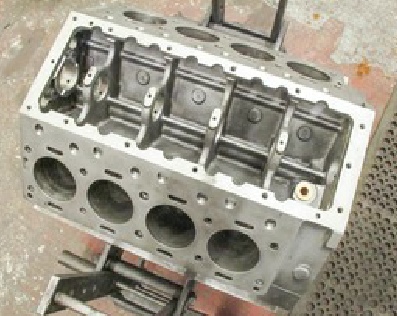
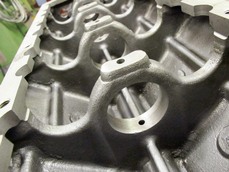
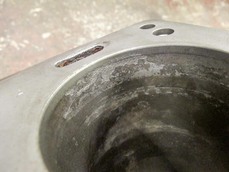
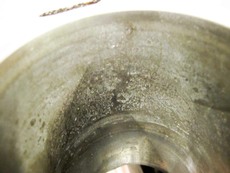
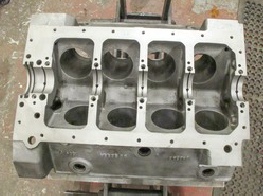
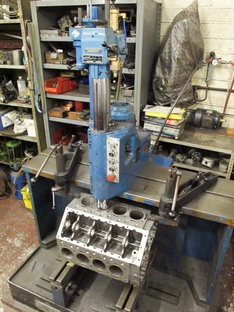
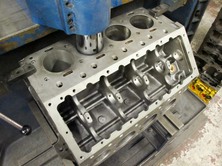
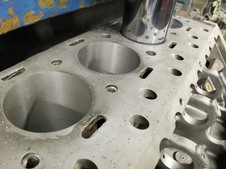
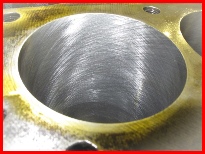
Once we know what we are dealing with we can begin machining. First the cylinder block is re-
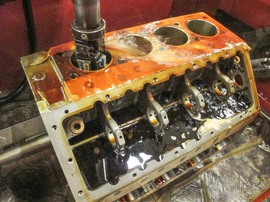
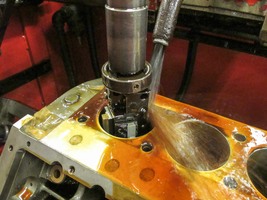
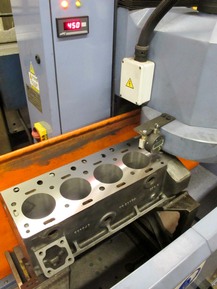
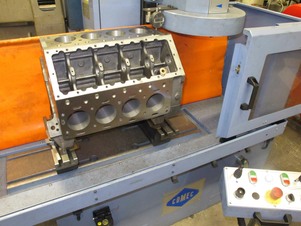
After cylinder boring is complete the cylinder head gasket decks are refaced to the correct surface finish to suit the Daimlers sometimes unforgiving single layer shim head gaskets. After the re-



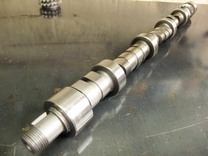
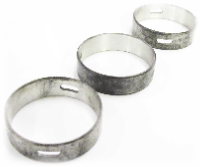
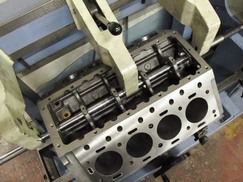
Camshaft bearing replacement is always neglected when rebuilding these engines because good quality bearings are difficult to obtain and the replacement process is difficult as the bearing tunnels require line boring to the final size. Just because it is difficult does not mean that it shouldn't be done. Here you can see the new bearings being line bored.
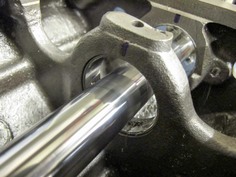
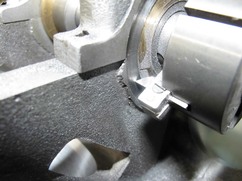
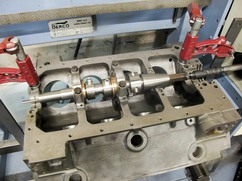
The Daimler V8 only makes use of one thrust washer on the rear of the centre main bearing. Richards conversion to a manual transmission meant that a significant increase in thrust load would be created because of the clutch action. We decided to modify the block to use an additional thrust washer which would help disperse this additional load. We did this on our line boring machine as can be seen here.
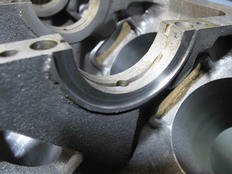
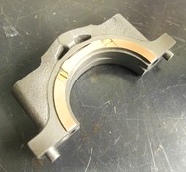
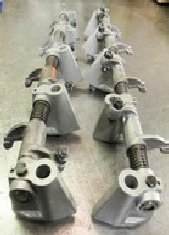
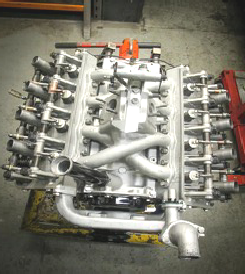
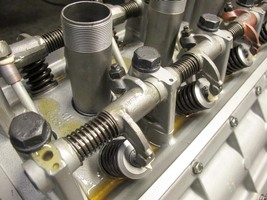
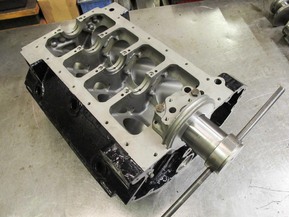
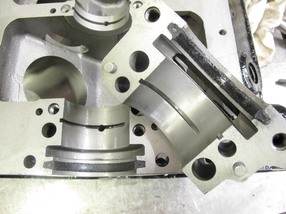
After the high temperature enamel paint has cured we can turn our attention to the rear crankshaft oil seal. Here you can see the sizing tool being used to seat and size both halves of the seal.
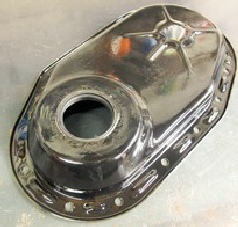
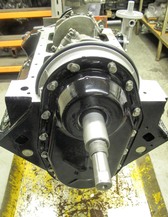
The front timing cover has been modified to utilise a modern type rubber lip seal. Our conversion does not alter the outer appearance of the timing cover. No big cumbersome lug welded on the outside.
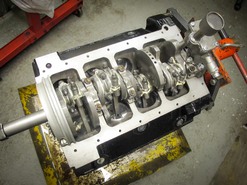
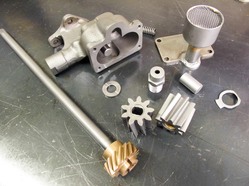
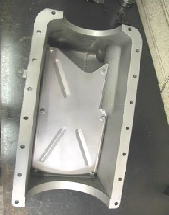
Here the sump & baffle, re-
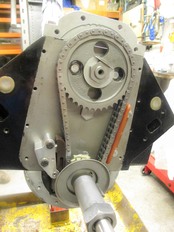
Heavy duty timing chain and our unique uprated timing chain hydraulic tensioner with nylon rubbing pad extends life & performance over the standard type.
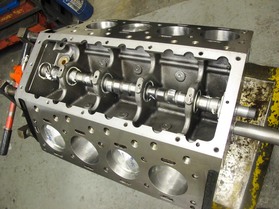
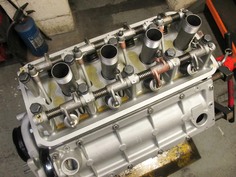
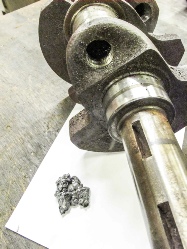
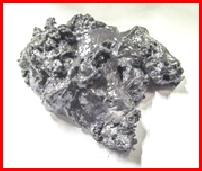

The crankshaft was checked for size and straightness and only required the journals to be micro polished. The oil gallery plugs were removed and all the sludge was removed. Its amazing how much dirt and gunk can accumulate in such a small space. Although the plugs can be difficult to replace its easy to see why it just has to be done.
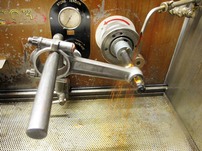
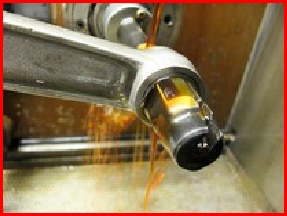
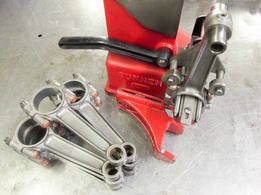

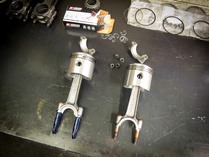
The connecting rods are cleaned, shot peened and then the little end bearing bush is replaced re-
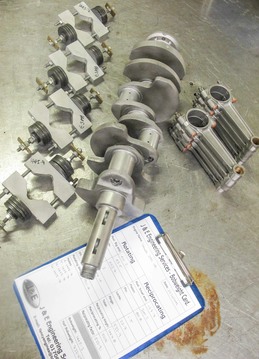
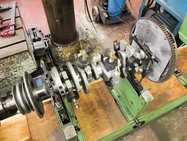
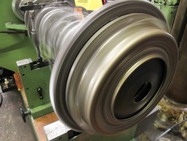
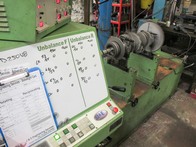
The crankshaft assembly required the full balancing treatment as an upgrade and because the cylinder block had been bored to +.040” The pistons we purchased were larger and therefore slightly heavier than the originals. During the first balancing test we found a significant vibration that required a small amount of heavy metal to be added to both the front and rear counter weights.
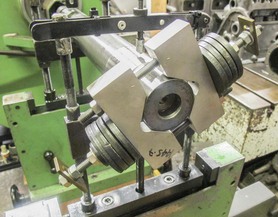
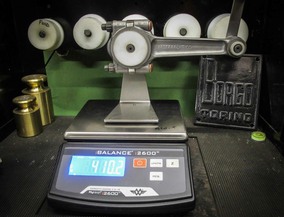
Connecting rods end to end balanced.
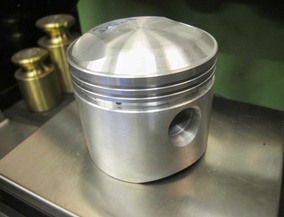
New piston +.040”.
Each “Bob weight” is balanced before fitting to crankshaft.
Crankshaft with bob weights prior to balancing. (Right)
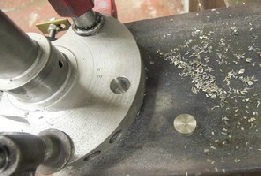
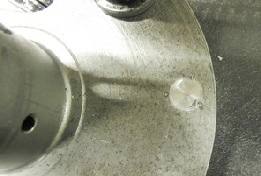



Heavy metal slug pre and post fitting to front counter weight.

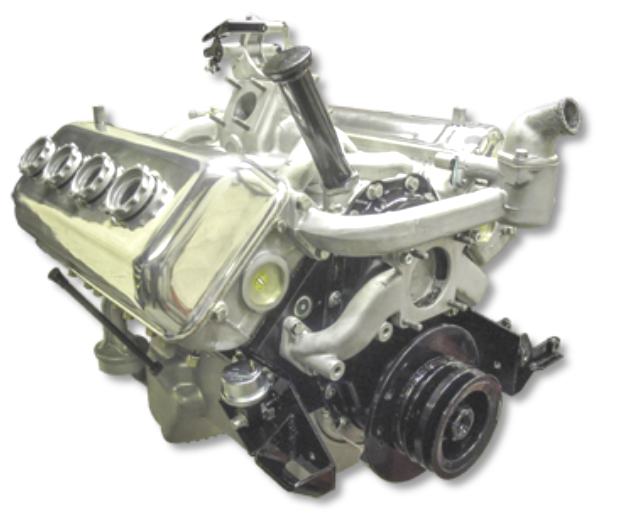
And here is the finished engine. Thank you to Richard for your input throughout the build help and assistance. Thanks for your confidence and tireless travelling up and down the country it was a pleasure.